Flames of Various Salts: A Chemical Perspective

The distinct colors displayed by different salts during flame tests arise from the unique electronic structures of their metal ions. When a salt sample is heated in a flame, the metal ions absorb energy and excite their electrons to higher energy levels. As these electrons return to lower levels, they emit light at specific wavelengths, producing characteristic colors.
Demonstration Procedure for Flame Tests
- Wooden sticks are soaked in distilled water overnight to eliminate sodium residues and impurities.
- They are kept in fresh distilled water before use, with an extra container of tap water nearby for safety.
- The Bunsen burner is adjusted to a hot, colorless flame to avoid interference.
- Each stick picks up a small amount of the salt or solution and is placed in the flame.
- Once the stick dries and starts to smolder, it is safely extinguished in the ‘oh crap’ beaker.
- Tests are repeated across samples for visual comparative analysis and identification of unknowns.
Safety and Practical Considerations
Despite seeming simple, flame tests require strict safety precautions. Flammable residues like ethanol may be used to fuel the flame, but liquids in the lab environment can increase risks. Flame test demonstrations have caused injuries in classrooms due to mishandling of flammable materials and should be performed with care.
Color Identification Challenges
Identifying salts solely by flame color can be problematic. Mislabeling and overlapping colors may cause confusion. For example:
- Potassium chloride often exhibits a pale lilac flame but may be mistaken for calcium chloride’s orange-red hue due to sample contamination or labeling errors.
- Copper salts usually produce a green or blue-green flame; deviations from this suggest possible misidentification.
- Strontium salts show a bright red flame, easily confused with other red-emitting salts if not confirmed carefully.
Chemical Explanation of Flame Colors

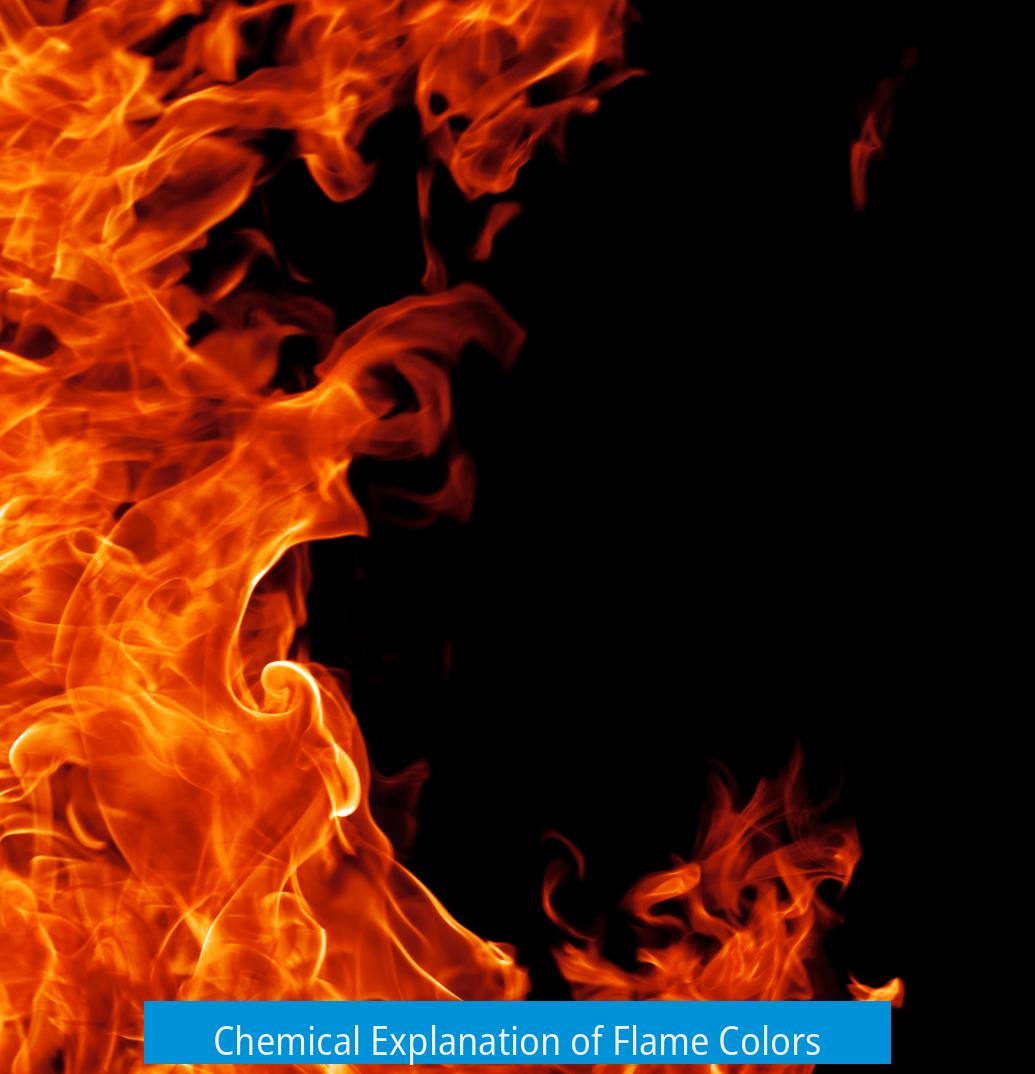
The flame color’s origin is chemical, not primarily temperature-dependent. Each metal ion has specific electron energy levels and transitions. When excited by flame heat, electrons jump to higher energy states and emit photons with characteristic frequencies when returning. These photon energies correspond to distinct visible colors on the electromagnetic spectrum.
| Metal Ion | Typical Flame Color | Electronic Transition Explanation |
|---|---|---|
| Sodium (Na+) | Bright Yellow | Emission at ~589 nm from valence electron transitions |
| Potassium (K+) | Lavender/Pale Lilac | Transitions emitting near 766 nm (infrared shifted visible) |
| Copper (Cu2+) | Green/Blue-green | Complex d-orbital transitions causing blue-green spectrum |
| Strontium (Sr2+) | Bright Red | Emission near 606 nm linked to outer shell electron transitions |
| Calcium (Ca2+) | Orange-red | Emission around 622 nm from electron jumps in calcium ions |
Key Takeaways
- Flame colors originate from electron transitions in metal ions within salts.
- Proper preparation and safety measures are crucial for flame test demonstrations.
- Mislabeling and color overlap can complicate salt identification.
- Flame color depends on chemical properties, not just flame temperature.
- Common metal ions show distinct and predictable flame hues.
Flames of Various Salts: Revealing Hidden Colors with Science (and a Little Caution!)
What colors do different salts make when you throw them into a flame? The answer is an amazing spectrum of bright hues that reveal the very nature of the elements inside. It’s chemistry meeting magic in a mini-fire show, but with a side of safety and some quirky labeling mishaps.
The classic flame test is not just some flashy experiment—it’s a direct peek into electron energy levels that define color emission. But how does this all work, and what should you know before trying it yourself? Read on for an inside look at the flames of various salts, why they glow in such different tones, and how to do it safely (if you dare!).
Begin with the Basics: How to Make Colors in a Flame
The go-to method involves wooden splints—yes, those humble craft sticks—that double as your magic wands. First, soak them in distilled water overnight to wash off any sneaky sodium or other contaminations hanging around. This tiny step ensures your colors won’t get tainted by unwanted elements trying to steal the spotlight.
After drying your sticks, light up a Bunsen burner and tweak the flame until it’s a hot, almost invisible blaze. The secret: a hot, blue colorless flame is the perfect canvas for the salts’ vibrant colors.
- Dip a splint in a bit of your salt or strong salt solution.
- Wave it proudly into the flame.
- See that burst of color? That’s the element telling its story.
- When the wood starts to smolder, don’t toss it casually—dunk it in your “oh crap” beaker of water to prevent any fire drama.
- Repeat for every salt sample and enjoy identifying the unknowns by their unique flame.
Students tend to learn more by doing this themselves than by watching an instructor. It’s tactile, immediate, and downright fun—if you keep the “oh crap” water handy.
Warning: This Demo Is Beautiful but Risky

Here’s the twist no one likes to admit: despite its apparent simplicity, this demo causes more classroom accidents than almost any other. The culprit? Flammable liquids used to get those salts burning—usually ethanol.
Do you want an explosion or singed eyebrows? Neither, right? So, don’t try this in a classroom or at home without proper supervision and precautions. Safety glasses, fire blankets, and, if possible, a professional demonstrating this are key to avoiding mishaps.
What Colors Are Expected? And What Happens When Salts Get Mislabeled
Each salt typically gives off a distinct color when heated because the metal ions emit light at characteristic wavelengths. Here are some usual suspects:
- Potassium chloride (KCl): A lilac or pale violet flame.
- Calcium chloride: Brick red or orange-red flame.
- Copper salts: Usually a bright green flame.
- Strontium salts: Deep red or crimson flames.
But what if your KCl sample throws off an orange-red color? Probably, your label was swapped with calcium chloride. If your copper isn’t green but something else, the same mislabeling suspicion arises.
These inconsistencies crop up often and remind us to trust our data over labels—or better yet, check twice.
Why Do Salts Produce Such Spectacular Flames? The Chemistry Behind the Color
Lots of people think the flame’s temperature controls the color. Nope. The secret lies in the electrons inside the atom.
When you heat the salt, electrons absorb energy and jump to higher energy levels—they get excited. These electrons aren’t fans of their new high-energy homes, so they drop back down. As they return, they release photons of certain energies. The energy (and thus light frequency) matches a specific color visible to our eyes.
Different elements have differing energy gaps and levels, so each gives off its own light signature, like a fingerprint in fire.
To keep those nonflammable salts glowing, a bit of ethanol fuels the flame, making those electrons dance happily and emit color. Without ethanol, the salts alone might just smolder quietly.
Practical Tips and Recommendations for Flame Tests
- Always keep at least two beakers of water nearby—one for soaking sticks, another for emergencies.
- Use distilled water to prevent accidental sodium contamination that can turn flames yellow.
- Don’t rely on the label alone. Cross-check colors and note mismatches.
- Keep your Bunsen flame hot, blue, and nearly invisible for the best color contrast.
- Don’t rush the experiment. Allow the splint to dry; a too-wet stick can distort colors or extinguish the flame.
- Consider recording your observations immediately—detailed notes help identify tricky samples later.
Final Thoughts: Science in Your Flame
Watching salts burn is like tuning into the elemental voices of the periodic table. Each shimmering flame shows a story of electrons, energy, and chemistry unfolding in real time. While fun and visually stunning, this experiment requires caution and respect.
If you want to dive deeper, why not explore flame spectroscopy? It’s a more advanced (and safer) way to pinpoint elements using light wavelengths—you just need high-tech detectors instead of a smoking stick.
Who knew that a humble flame test could illuminate so much—from chemistry quirks and electron secrets to the vital importance of safety? Next time you see a colored flame, remember: it’s science lighting up the darkness, one electron leap at a time.
“In the little sparks and colors of a flame, you find the stories of atoms and the dance of electrons.” – Your Friendly Neighborhood Chemist
What causes the distinct colors observed in flame tests of various salts?
The colors are caused by electrons in metal ions absorbing heat, jumping to higher energy levels, then falling back down. Each element emits light of specific wavelengths, producing unique flame colors.
How should wooden splints be prepared for accurate flame tests?
Soak wooden splints in distilled water overnight to remove residual sodium and impurities. Keep them moist during testing to prevent smoldering and contamination of flame color.
Why is ethanol used with salts during flame tests?
Because most salts aren’t flammable, soaking them in ethanol provides fuel for the flame. This helps excite the electrons in the metal ions to emit visible colors.
What safety steps must be taken during flame tests with salts?
Use a hot, colorless flame. Keep a beaker of water nearby to extinguish smoldering splints. Avoid using flammable liquids carelessly to prevent accidents.
How can salt mislabeling affect the results of flame tests?
Mislabeled salts can produce unexpected flame colors, leading to incorrect identification. For instance, KCl mislabeled as calcium chloride shows wrong flame colors.


Leave a Comment