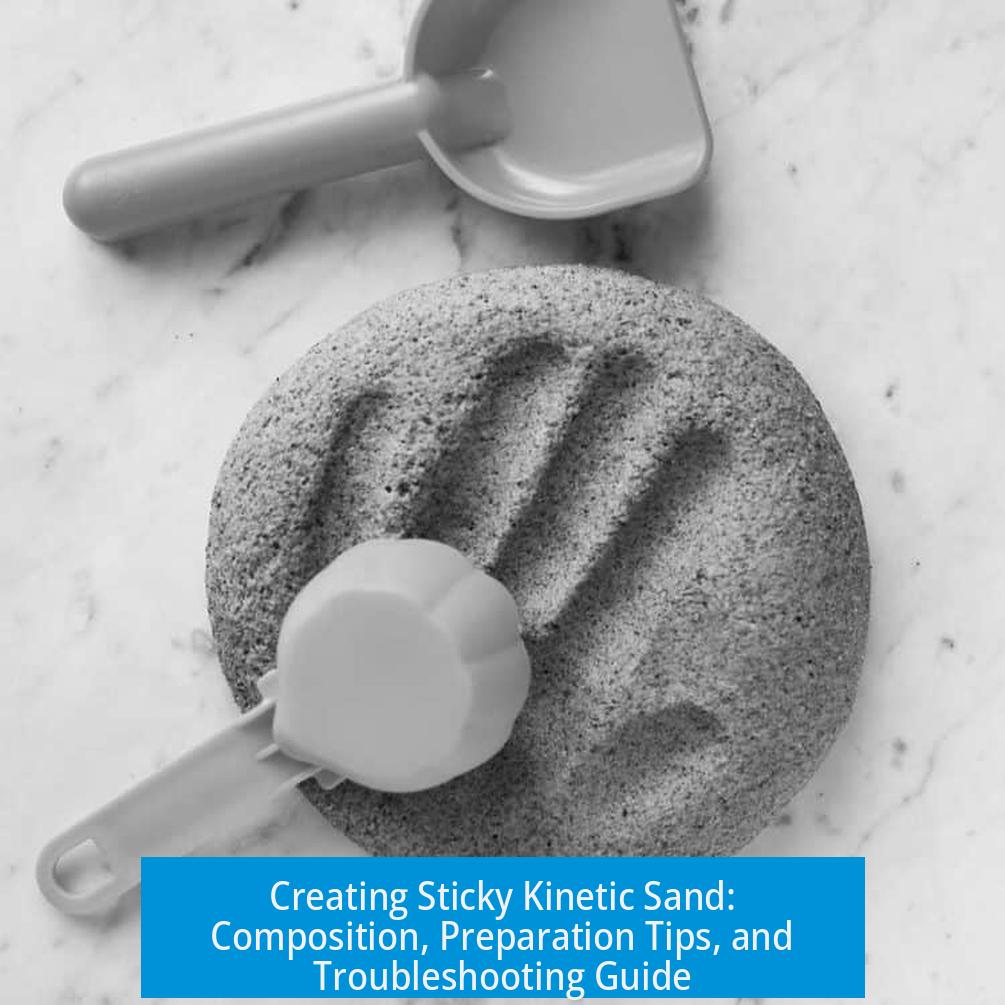
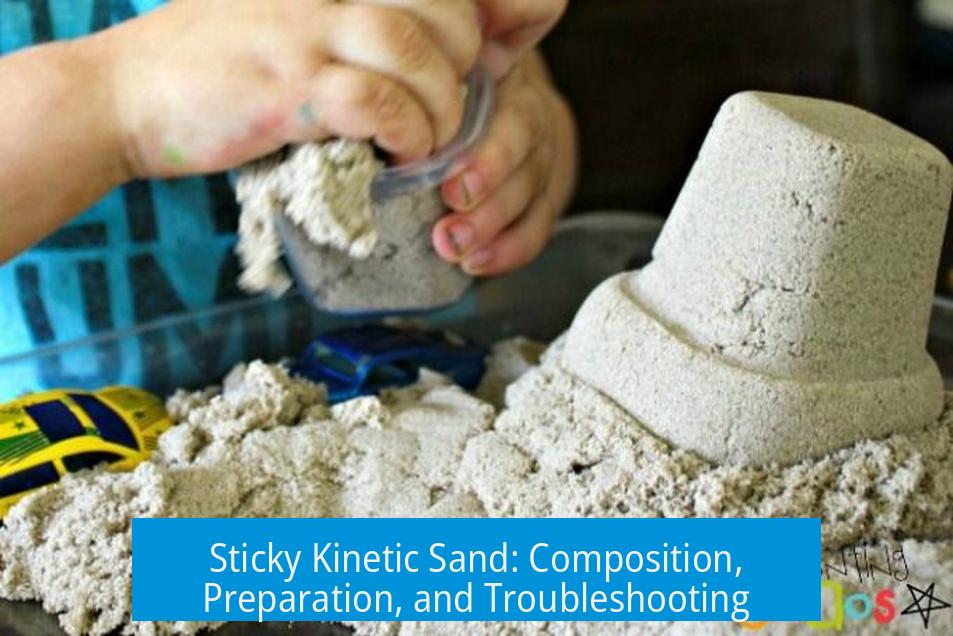
Sticky Kinetic Sand: Composition, Preparation, and Troubleshooting
Sticky kinetic sand is created by coating extremely dry fine sand grains with a small percentage of dimethicone polymer, usually around 2% by weight, to produce a moldable, non-drying, and slightly sticky tactile material. Achieving the ideal consistency depends heavily on moisture control, polymer viscosity, and thorough mixing techniques. This article explains the key ingredients, preparation method, and potential challenges for making sticky kinetic sand at home or in small batches.
Understanding Sticky Kinetic Sand
Kinetic sand is a mixture of fine sand and a binding polymer that coats each grain. The polymer acts as a lubricant and adhesive, creating a material that flows like wet sand but never dries out. The “sticky” quality refers to the sand’s ability to cling together without becoming sloppy or wet.
Users often face challenges in replicating the texture at home. Common early attempts with slime recipes or cornstarch mixtures lack the satisfying stretch and stickiness, as those mixtures rely on entirely different chemical principles. Kinetic sand requires specific components and dryness levels to perform properly.
Key Components and Their Roles
| Component | Description and Role |
|---|---|
| Sand | Fine-grained, clean, and completely dry sand forms the bulk. Grain size ranges from super-fine (<0.25 mm) to fine (<0.35 mm). Moisture content must be near zero. |
| Dimethicone (Polydimethylsiloxane) Polymer | The binding agent applied at about 2% weight of sand. Dimethicone 500 is standard; variations like dimethicone 350 or 1000 adjust viscosity. It coats grains without making the sand wet. |
| Pigments (Optional) | Colorants such as tempera powder or fabric dyes can be used to color sand. Pigments must be mixed evenly and dried thoroughly to avoid adding moisture. |
Importance of Moisture Control

Moisture is the primary enemy of sticky kinetic sand. Dimethicone repels water, so any moisture can cause emulsification with the polymer. This results in clumping, crumbly texture, or loss of stickiness. Therefore, drying sand thoroughly is essential before mixing.
Recommended drying procedure includes baking sand at 250oF (121oC) for multiple hours while occasionally venting the oven. After baking, the sand should cool completely in an airtight container to prevent moisture absorption from the air.
Steps for Preparing Sticky Kinetic Sand
Personal Protective Equipment (PPE)
- Wear an N95 mask and goggles to avoid inhalation of fine sand or pigment powders.
Preparing Sand Alone
- Start with super-fine craft sand ideally less than 0.25mm in grain size.
- Spread an even layer on baking sheets.
- Bake in a 250oF oven for about 2 hours, stirring occasionally to release any trapped moisture.
- Cool the sand completely, preferably sealing it in airtight containers.
Coloring Sand (Optional)
- Mist dry sand lightly with water until just damp—not wet.
- Using gloves, mix in tempera powder pigment at about 0.5 cups (8 tablespoons) per kilogram of sand.
- Spread the pigmented sand out on trays and air dry thoroughly for 1–2 hours, stirring periodically.
- For deeper colors, repeat the coloring and drying steps.
Polymer Coating and Mixing
- Measure out 2% by weight of dimethicone 500 relative to the sand mass.
- In small batches (e.g., 100 g sand), mix dimethicone into the dry sand carefully by folding with a spoon or by hand.
- Avoid vigorous stirring to prevent emulsifying moisture into the polymer.
- Adjust polymer viscosity if necessary:
- Add small amounts (0.5 g) of dimethicone 1000 if the mixture is too runny.
- Add dimethicone 350 if it is too firm or brittle.
Scaling Up
Once the small batch tests yield the desired consistency and stickiness, scale ratios linearly. Always keep detailed measurements to reproduce the result consistently.
Additional Tips and Troubleshooting
Mixing Techniques
Mixing the polymer and sand by hand is preferable to avoid excess friction or heat that can degrade the polymer or cause uneven coating. Mechanical mixers may create issues unless specifically designed for sensitive materials.
Testing Different Sand Types
- Play sand with larger grains can be combined with finer sand to vary texture, but finer sand yields better cohesion.
- Ensure all sand types are baked and cooled completely before mixing.
Adding Starch to Improve Stickiness
If the mixture lacks stickiness despite dryness and correct polymer levels, small amounts of starch may help. Rice starch tends to absorb less water and maintain dryness better, but classic corn or wheat starches may be suitable depending on texture goals.
Effect of Moisture and Emulsification
- Moisture trapped inside sand or pigment powders can emulsify with dimethicone, changing texture to crumbly or greasy.
- If this happens, baking the mixture to evaporate water and remixing with additional dry sand can help regain consistency.
Coloring with Fabric Dye
One strategy is to dye sifted play sand with viscous fabric dyes such as those from tie-dye kits. Because these dyes are thick, they can color sand without adding excessive water. However, sand still needs to be dried thoroughly afterward.
A best practice is to maintain some undyed control sand to compare results, as dye and pigment can alter surface texture and adherence of the polymer coating.
Safety and Material Considerations
Since kinetic sand is composed mainly of sand, dimethicone, and pigment, the materials are relatively safe when handled with proper PPE. Sand dust and fine pigments can cause respiratory issues like silicosis if inhaled over prolonged exposure.
The polymer dimethicone is inert and used widely in cosmetics and consumer products. Avoid introducing moisture or contaminants that may degrade the polymer or sand quality.
Summary of Best Practices
- Use super-fine dry sand, ideally under 0.25 mm grain size, baked at 250oF for at least 2 hours.
- Keep all components moisture-free before mixing with dimethicone polymer added at about 2% by weight.
- Mix by hand slowly to avoid emulsification and uneven polymer coating.
- Start with plain white sand before adding pigments to master the base recipe.
- Use pigments sparingly and dry pigments thoroughly after mixing.
- Tweak polymer viscosity with small additions of different grades as needed.
- Wear masks and goggles when handling dry sand and pigments to prevent inhalation hazards.
- Add starch cautiously if extra stickiness is desired but test carefully as it can alter dryness.
- Test small batches before scaling up for consistent results.
Key Takeaways
- Sticky kinetic sand relies on dry, fine sand coated in about 2% dimethicone to achieve its unique texture.
- Moisture is the main problem and must be removed through thorough baking and drying.
- Mixing must be gentle to prevent emulsifying moisture into the oil polymer.
- Coloring sand adds complexity and requires extra drying and testing.
- Adjust polymer viscosity and consider starch additives if texture is off.
- Use PPE to protect from dust inhalation during sand and pigment handling.
What grain size of sand is best for sticky kinetic sand?
Use super-fine sand under 0.25mm, equivalent to 60-mesh. Fine sand under 0.35mm (45-mesh) also works but super-fine gives better results.
How important is drying the sand before adding polymer?
Extremely important. The sand must be completely dry to keep the dimethicone oil from losing effectiveness. Bake the sand at 250°F for a few hours and let it cool fully.
What role does dimethicone play in sticky kinetic sand?
Dimethicone 500 is used as a polymer at about 2% by weight of sand. It coats the sand to create the stickiness and texture kinetic sand is known for.
Can I color kinetic sand during preparation?
Yes, but start with white sand to perfect your base recipe first. To color, dampen sand slightly, mix in tempera pigment powder, and air dry thoroughly before adding polymer.
How do I fix kinetic sand that feels oily or too smooth?
Oily texture often comes from moisture mixing with oil. Try drying the sand in the sun or oven, then add more dry sand to balance the texture.
Are there tips for mixing kinetic sand effectively?
Hand mixing is best to avoid friction heat and damage. Use small test batches to adjust polymer viscosity before scaling up your recipe.

Leave a Comment