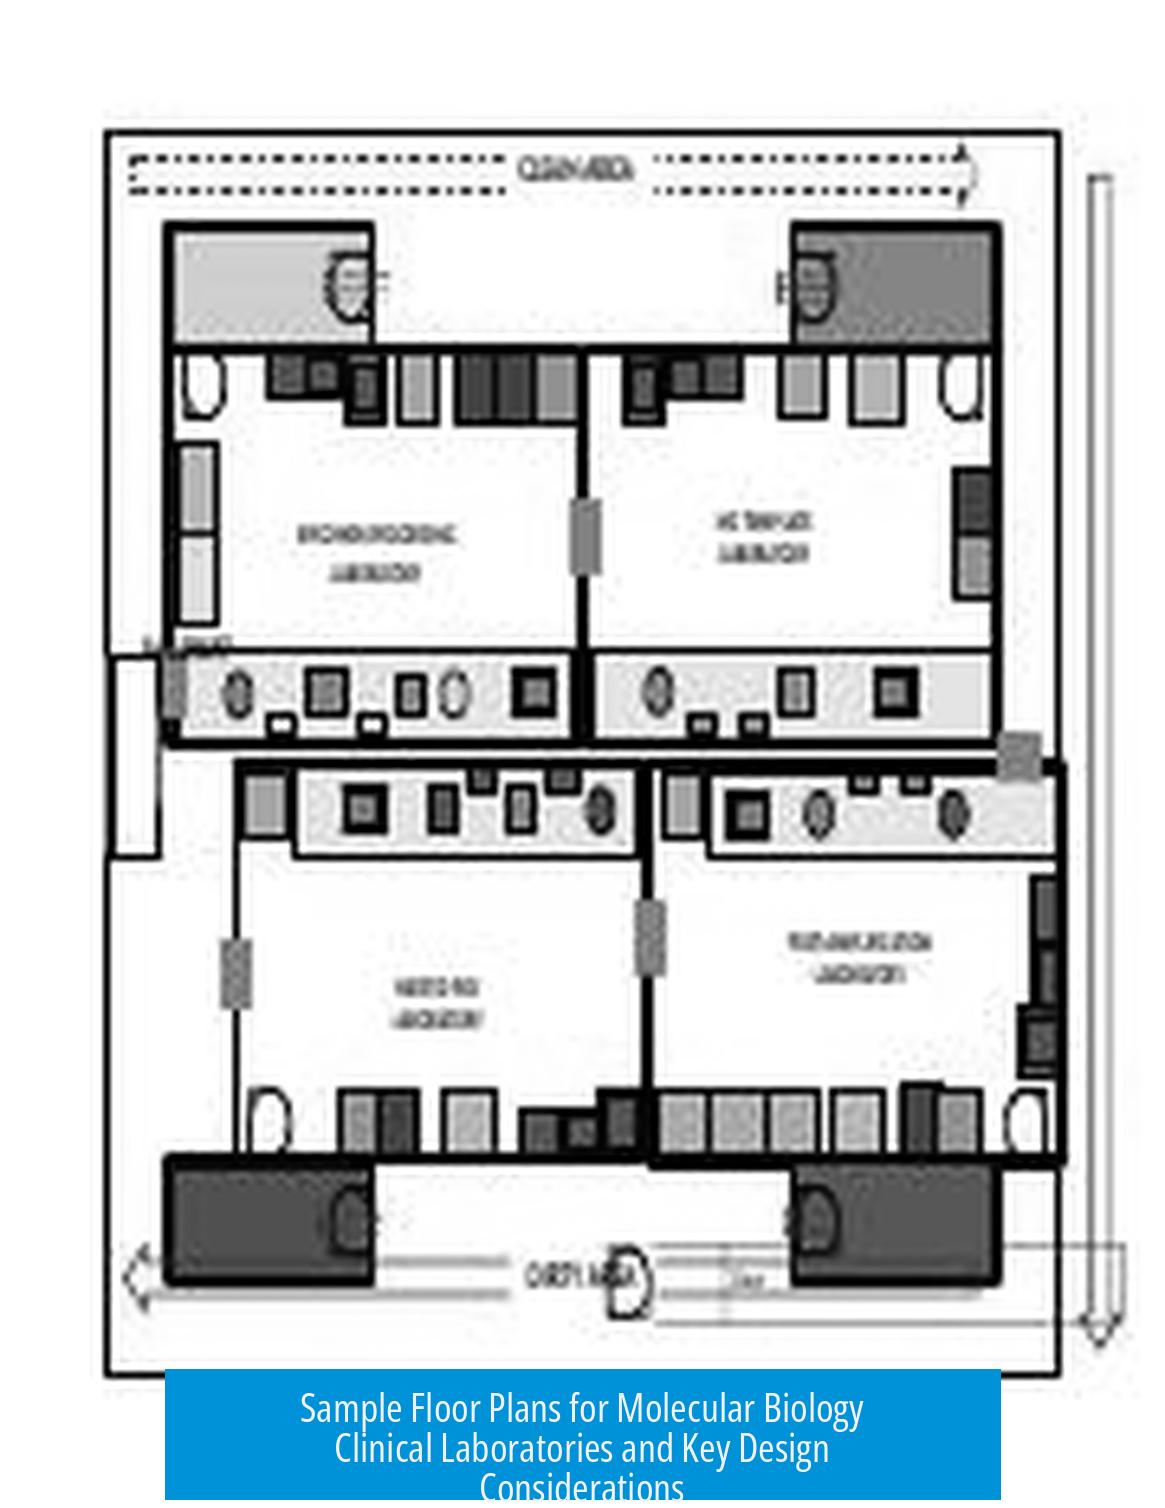
Sample Floor Plans for a Molecular Biology Clinical Laboratory

Sample floor plans for a molecular biology clinical laboratory depend on space, utilities, personnel, and lab purpose, but key design principles include segregating PCR setup in a dedicated room under a hood and organizing workflow sequentially to reduce contamination risks.
Key Considerations for Lab Floor Planning
- Space Availability: The total area and shape of the facility limit layout options.
- Services and Utilities: Placement of water, electricity, gas, and ventilation defines equipment positioning.
- Staff Density and Workflow: Number of personnel and intended lab activities influence bench arrangements and circulation paths.
- Purpose: Whether the lab serves academic research or commercial diagnostics affects design needs.
Due to these factors, a universal floor plan does not exist. Instead, labs tailor arrangements to suit their specific conditions.
Workflow-Driven Lab Zones
A properly designed molecular biology lab sequences tasks to minimize DNA and RNA contamination. The workflow commonly follows this order:
- Sample extraction area
- Clean-up and purification benches
- PCR reaction setup in a separate room with a dedicated PCR hood
- Downstream processing and analysis station
Each zone is physically separated or arranged linearly to prevent cross-contamination. The PCR setup area requires strict isolation and a biosafety cabinet or UV hood for reagent preparation.
Recommended Resources
For detailed layouts and diagrams, At the Bench: A Laboratory Navigator (Updated Edition) is a well-regarded resource. It includes guidance on spatial organization, equipment placement, and contamination control in molecular biology labs.
Summary of Best Practices
- Design based on your lab’s space, utilities, and function.
- Arrange workflow zones sequentially: extraction → clean-up → PCR → downstream.
- Isolate PCR setup in a separate room to avoid contamination.
- Utilize resources with diagrams for detailed planning.
Q1: Are there any recommended resources for designing a molecular biology clinical lab floor plan?
The book “At the Bench: A Laboratory Navigator, Updated Edition” is highly recommended. It includes diagrams and guidance specific to molecular biology lab setups.
Q2: What factors should influence the design of a molecular biology lab floor plan?
Design depends on space availability, location of utilities, staffing density, and the lab’s purpose—whether academic or commercial. These variables shape the layout and workflow.
Q3: How can the floor plan help prevent PCR contamination?
It’s crucial to have a dedicated room with a hood exclusively for PCR setup. This physical separation significantly lowers contamination risks.
Q4: How should workflow areas be arranged to minimize nucleic acid contamination?
The layout should follow the process: extraction, clean-up, PCR, and downstream processing in sequence. This order limits cross-contamination risks during sample handling.


Leave a Comment