First Year Grad Student’s First Attempt at Setting Up a Schlenk Line
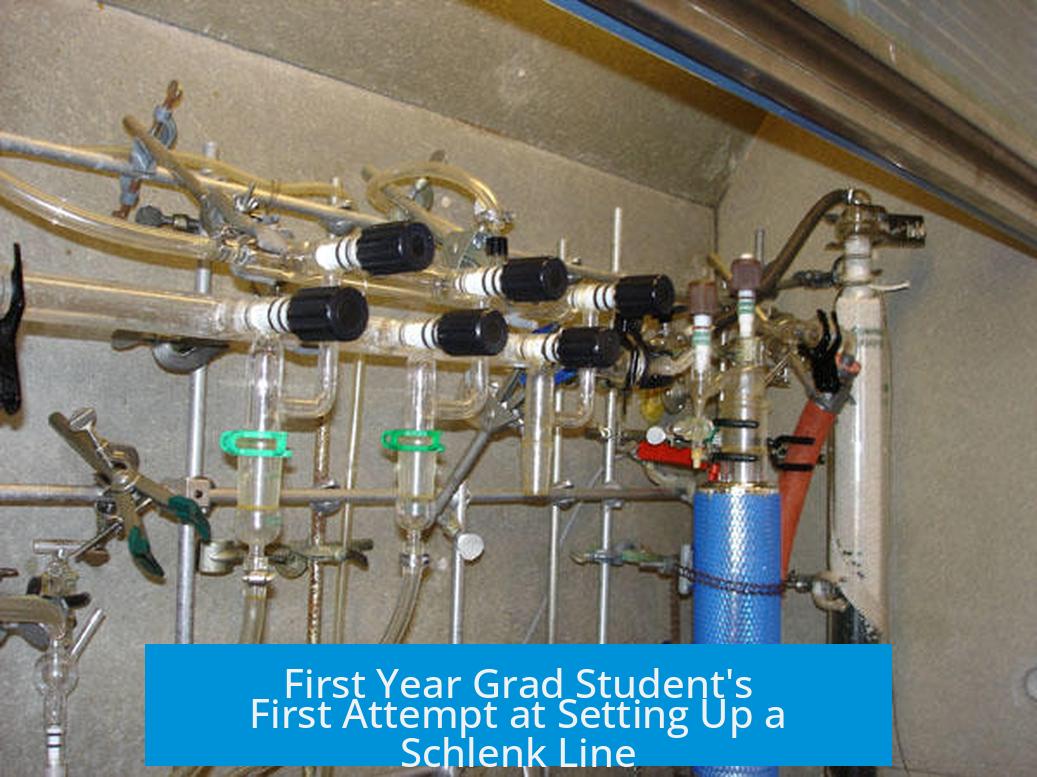
A first-year graduate student’s initial setup of a Schlenk line often appears complex and somewhat untidy, but it represents an essential learning process in inert atmosphere techniques. Though the setup might look messier than optimal, with crossing lines and some incorrect tubing choices, it usually poses no severe danger. Careful guidance and experience improve proficiency and safety over time.
Understanding the Schlenk Line Setup
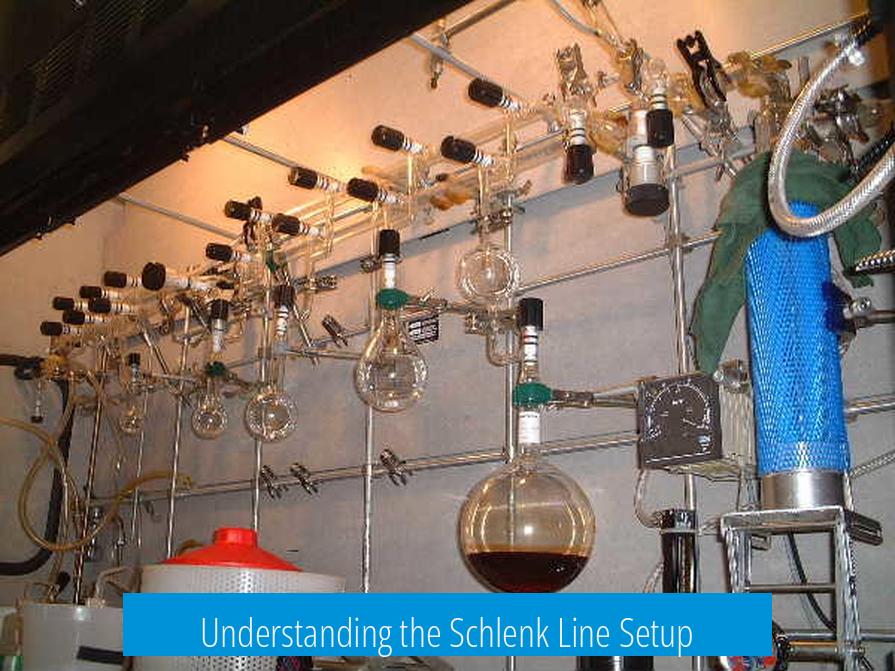
A Schlenk line is a versatile tool designed to manipulate air- and moisture-sensitive compounds under an inert gas atmosphere, typically nitrogen or argon. The system usually contains multiple ports connected to vacuum and inert gas lines, controlled by stopcocks or valves. Proper setup ensures reliable control of reaction atmospheres and safe handling of volatile or reactive chemicals.
Common Challenges in a First Attempt
Line Organization and Clarity
- Multiple tubes crossing and snaking around reduce clarity about the flow path of gas and vacuum.
- Valve arrangements may confuse users about which control corresponds to which line.
- Clear labeling or color-coding could significantly improve the ease of use and prevent mistakes.
Physical Condition of Components
- Stopcocks or joints marked as ‘broken’ demand immediate attention.
- If the glass component is damaged on the vacuum side, the system integrity is compromised.
- Teflon J Young stoppers are common, but their sealing surfaces may scratch, leading to leaks and requiring careful maintenance.
Safety and Functionality Concerns
- Care must be taken with the liquid nitrogen trap to avoid formation of blue crystals, which can indicate hazardous materials or cold condensates.
- Incorporating a cold finger or using a dry ice/acetone bath prevents solvents from contaminating the vacuum pump—extending equipment life and reducing maintenance issues.
- Incorrect tubing, such as using a red vacuum hose for nitrogen supply, poses functional concerns.
Training and Experience
Many students learn Schlenk line assembly in undergraduate inorganic labs, where initial demonstrations are conducted under supervision. First attempts without direct mentoring can be rough but provide valuable hands-on experience.
Supervisors should allow room for trial and error but ensure proper safety protocols. With guided improvement, line organization and component handling become more effective and safe.
Practical Tips for Improvement
Clamping and Tubing
- Use sufficient clamps on tubing to avoid accidental disconnections and to stabilize the setup.
- Employ high inner diameter natural rubber tubing for vacuum lines due to its flexibility and sealing properties.
- Chemical-resistant Nalgene tubing suits inert gas lines better to prevent degradation.
- Apply silicon grease on every glass joint and tubing connection to enhance sealing and ease of movement.
Vacuum and Pump Maintenance
- Follow the manufacturer’s maintenance guidelines scrupulously to maintain pump efficiency.
- Regular cleaning and oil changes prevent vacuum loss and extend pump lifespan.
- Documentation of maintenance routines assists future troubleshooting and upkeep.
Additional Setup Considerations
- Utilize utility access points in the fume hood for convenient feedthroughs and improved ergonomics.
- Consider avoiding tubing as condensers in some reaction setups, favoring direct glassware connections to prevent leaks or blockages.
- Implement temperature monitoring with K-type thermocouples when using variac-controlled heating elements.
- For complex reactions, exploring oil diffusion pumps and mercury manometers could enhance pressure control, though they require advanced handling skills and proper disposal procedures.
Encouragement and Support
Supervisors and colleagues play a crucial role in mentoring early-stage graduate students. Patience, constructive feedback, and hands-off encouragement foster confidence and skill development in inert atmosphere techniques.
Even a setup that appears imperfect is a step towards mastery. Repeated practice and learning from minor errors improve both technique and safety awareness.
Key Takeaways
- The first attempt at a Schlenk line setup may look disorganized but is a valuable learning phase.
- Organizational clarity and component condition are essential for functionality and safety.
- Proper tubing selection and sealing with silicon grease improve vacuum integrity.
- Routine vacuum pump maintenance enhances system performance.
- Additional tools like temperature probes and cold fingers improve control and protection.
- Mentorship helps students progress from basic setups to advanced, error-free systems.
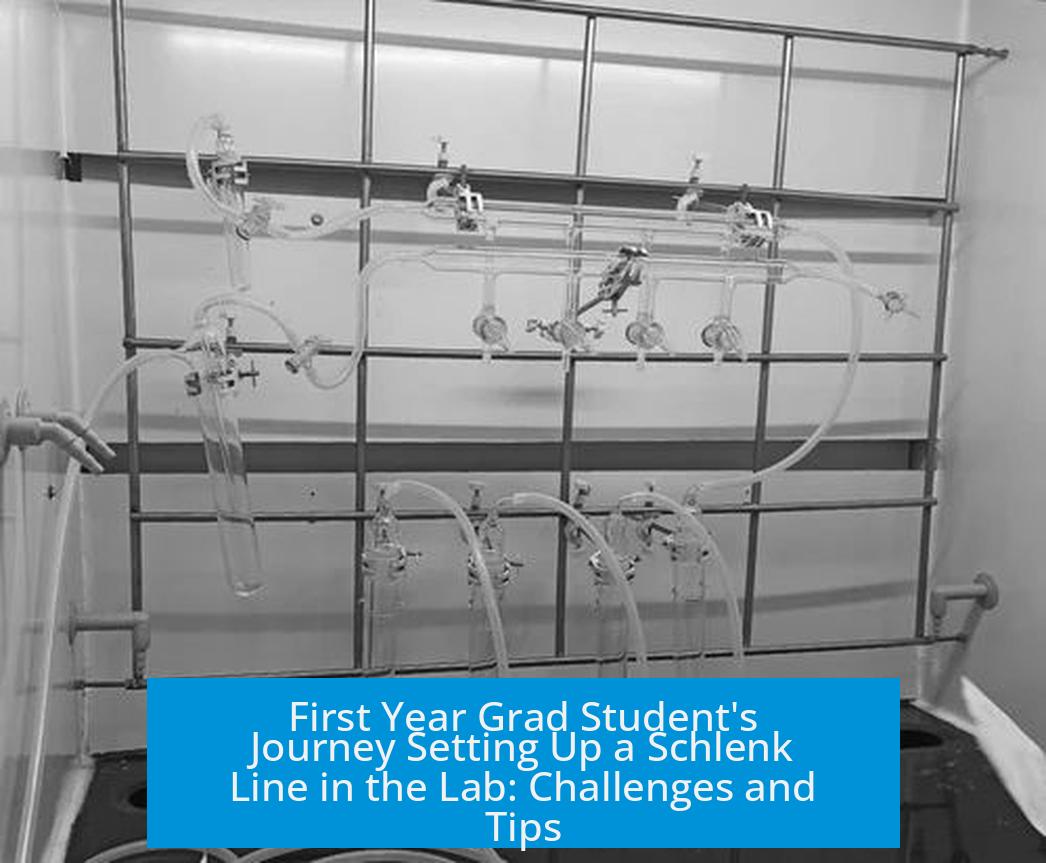
First Year Grad Student’s First Attempt at Setting Up a Schlenk Line in My Lab
So your first stab at setting up a Schlenk line is a curious, mildly chaotic adventure—and that’s perfectly normal. That complicated web of glass tubing and valves looks intimidating at first glance, but let’s unpack what’s going on here. Setting up a Schlenk line isn’t rocket science, but it demands patience and attention to detail. If this is your first time, kudos for diving in!
Many seasoned chemists agree that first attempts often seem a bit messy or tangled. It’s part of the learning curve, not a disaster. The setup you see might have nitrogen lines intersecting oddly or vacuum hoses humorously borrowed from other uses (looking at you, red vac hose!). Yet, the whole setup rarely becomes dangerous if basic safety is observed.
Let’s Talk about the Setup’s Pros and Cons
At first glance, your Schlenk line may look like an abstract sculpture—more tangled limbs than sleek, streamlined machinery. Some experienced eyes find the intertwining lines confusing, especially when it’s hard to track which valve controls which tube. This could complicate quick adjustments during an experiment.
One charming comment notes a “certain beauty to this madness.” Well said! It shows eagerness and initiative, both crucial in lab life. Even the apparently “broke” stopcock isn’t necessarily a deal breaker. If the glass is cracked on the vacuum side, that’s a problem, but often it’s just the stopper or the joint needing a good clean or a replacement. And those Teflon J Young stoppers? Sure, they tend to get scratched, but that’s part of handling delicate lab equipment, and you’ll get a feel for when it needs replacing.
First Timer’s Key Challenges
Figuring out line organization is probably the trickiest part. When valves snake around each other, it’s easy to misinterpret flow paths. This issue is common across first setups, so don’t sweat it too much—focus on clear labeling and keep track of tubing connections.
Another nuance is using the right tubing. Natural rubber tubing suits vacuum work well, but it’s not chemically resistant enough for solvent or gas flows. Many labs switch to Nalgene tubing for versatility outside of vacuum lines.
Why Use Silicone Grease on Every Connection?
This tip is golden: always grease every joint, even the connections of tubes to nipples. It prevents leaks and makes disassembly easier. Skipping this can ruin vacuum strength or cause air leaks during inert gas purging. Some grad students overlook this, but it’s an easy fix.
Safety First—but Without the Panic
Let’s address the odd safety notes. Yes, removing liquid nitrogen requires caution. Blue crystals near your hood signal frozen solvents with potential explosive risk if exposed too quickly. Don’t run screaming, but work carefully, close the hood, and avoid sudden exposure.
Adding a cold finger in a dry ice/acetone dewar helps trap volatile solvents and protects your vacuum pump from their harmful vapors. This small tweak can save headaches and costly equipment repairs down the road.
Maintenance Makes Perfect
Vacuum pump upkeep often gets ignored. Following the manufacturer’s maintenance instructions can keep your pump running smoothly. Logging each service event is good practice and impresses PIs—remember, a well-run pump outperforms most fancy vacuums!
Additional Setup Considerations
- Hood panels with removable white grommets offer a stealthy utility access point for tubes. Use this cleverly if you want a neat lab bench.
- For reactions with condensations between vessels, tubing isn’t always best. Sometimes safer glassware or direct setups reduce clogs and improve flow.
- Reactions with tricky temperature or pressure needs warrant extra instruments: a K-type thermocouple for accurate heating, an oil diffusion pump for ultra-high vacuum, or even a mercury manometer—if you’re prepared to handle it responsibly.
Learning Under Your Own Steam
Many grad students recall their first Schlenk line setup class as a whirlwind experience. Usually, they get a quick demo, then it’s “go figure it out yourself.” If you built your setup without much hand-holding, you’re doing better than you think. The “messy” quality just means you’re learning by doing.
Remember, your advisors might be hands-off, expecting you to ask if you need help. Don’t hesitate. Schlenk work is fun and rewarding once you get the hang of it. And as one senior student wisely advises: “Don’t throw up your hands yet!”
Funny But True: The “Confusing Design” Theory
Some joke that a confusingly tangled Schlenk line is a genius way to secure your setup against unwanted borrowing or usage by others. Maybe you accidentally invented a “secure access system.”
Cool experiments aside, it’s important to keep setups understandable not only for your safety but for colleagues who might someday use or troubleshoot your line.
Final Words of Encouragement
Your Schlenk line doesn’t need to be perfect on day one. Expect some twisted tubing and minor valve confusion—that’s part of growth. What matters is you’re learning, improving, and not afraid to ask questions or correct mistakes.
Keep adding clamps (because “instructions unclear, add more clamps” is no joke), grease connections well, and maintain your vacuum equipment. With each run, your setup will look cleaner, work smoother, and give you fewer headaches.
Have fun with your Schlenk line adventures. You’re not just assembling glassware—you’re building the foundation for a successful research career. The “work of art” you’re creating might look like madness now, but soon it’ll be the symphony of your scientific discovery.
How can I keep the tubing and valves organized on my first Schlenk line setup?
Lines often cross and twist, making it hard to tell which valve goes where. Use extra clamps to secure tubing. Keep tubes as straight as possible and label valves if needed for clarity.
What should I do if a stopcock on my Schlenk line is labeled “broken”?
If the glass stopcock is cracked, the vacuum side is compromised and needs replacing. If only the stopper is stuck or dirty, cleaning or swapping it out usually fixes the issue.
Is it important to use specific tubing types on Schlenk lines?
Yes. Save natural rubber tubing for vacuum lines. Use chemical-resistant nalgene tubing for other connections. Always grease glass joints and tube connections to prevent leaks.
How do I maintain the vacuum pump to ensure strong vacuum?
Follow the manufacturer’s cleaning instructions carefully. Regular maintenance and recording service dates keeps the pump efficient and extends its life.
Should I use a cold trap in my Schlenk line setup?
Yes, placing a cold finger in a dry ice/acetone bath helps prevent solvent vapors from reaching the vacuum pump. It protects the pump and reduces risks of contamination.


Leave a Comment